I'm here to show you how to work the magic stamp.
It may not look much, but it's so versitile:)
The possibilities are endless, you will basically be able to make your own stamp with what ever you're in the mood for... or what ever material you have avalialbe.
Let me tell you how it works:
Heat - The first thing you must do is to heat the foam. You will see the foam react to the warmth and be more porose.

Press - after it's heated, gently press it to a surface of your choice. But it should have some kind of structure to it. Think beads, coins, linen texture or even cooking rise. You can also try chains or gears, anything that will leave an impression in the foam. Also remember that the stamped image will be reversed.
.JPG)
.JPG)
Stamp - now it works like any foam stamp as usual. Just ink it with your ink of choice, I used dye ink from adirondack. I found that I liked it better to rub or brush the ink pad against the stamp rather than to tap it as I normally do.
.JPG)
.JPG)
.JPG)

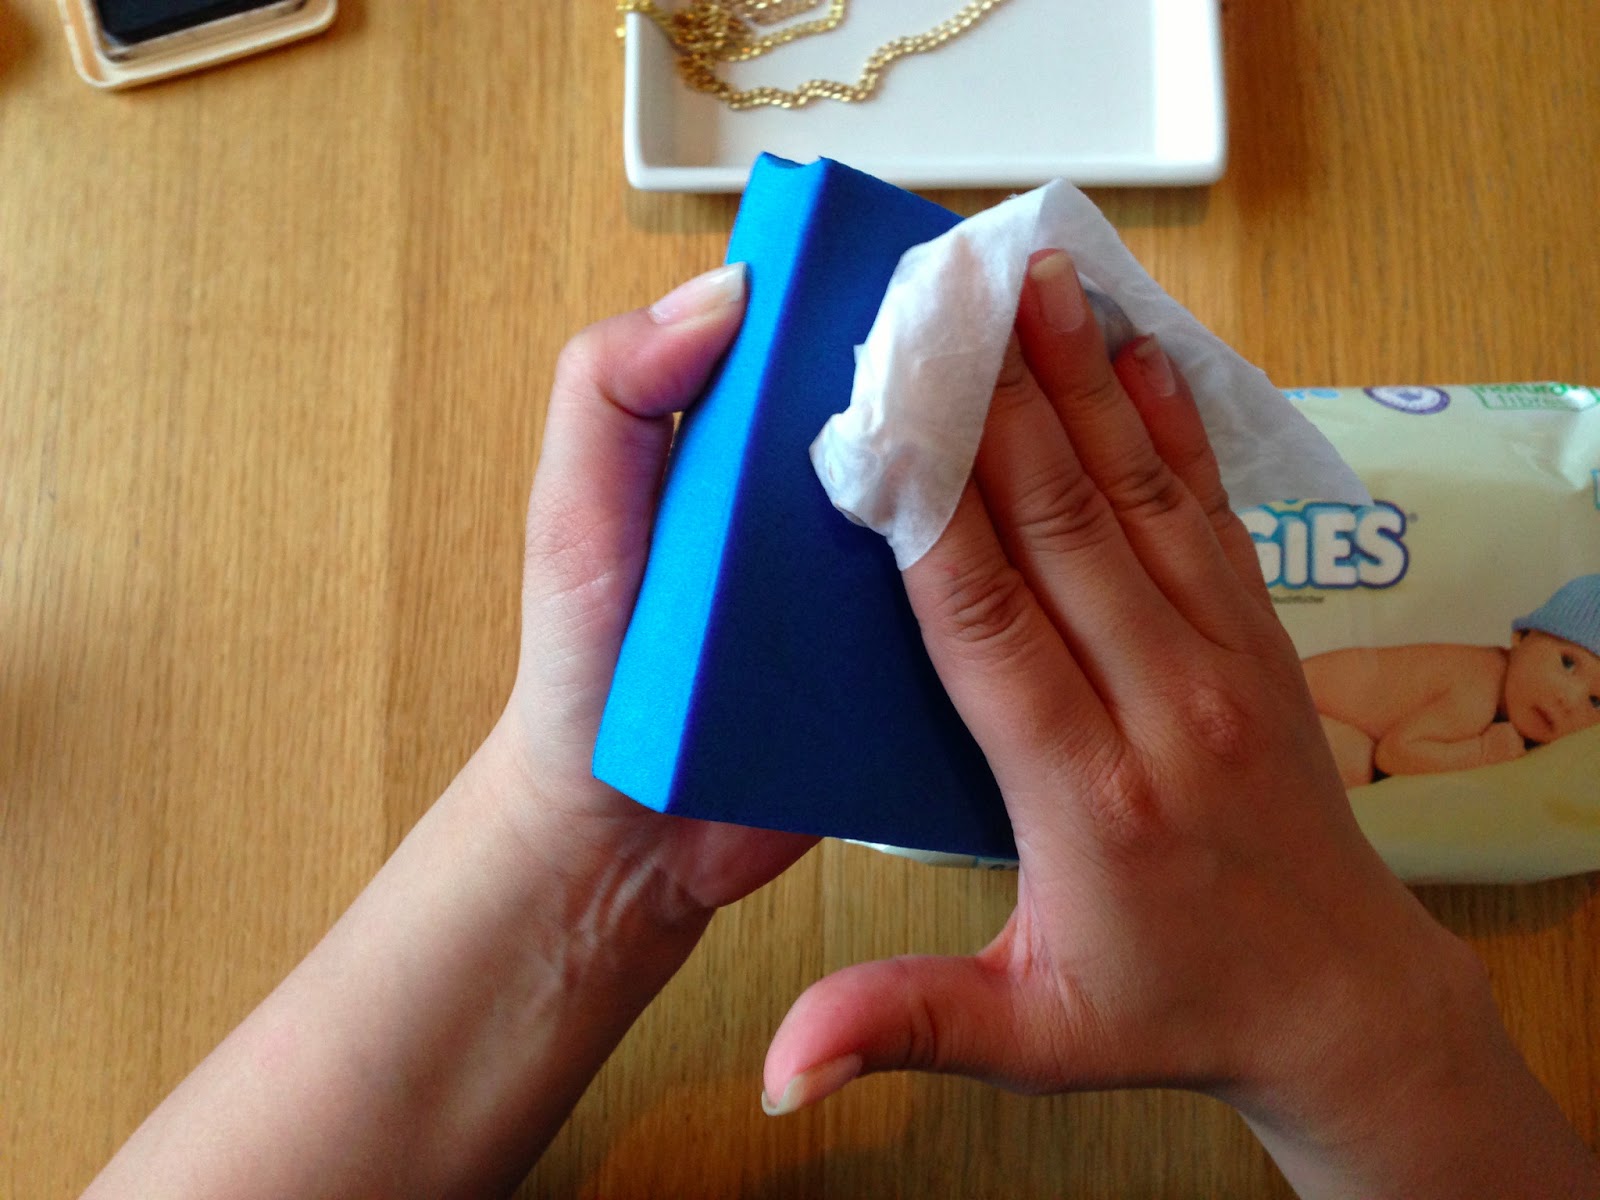
Clean - Just as you would with any normal stamp, just clean it - here I used a baby wipe. No either you keep it like this and use it again and again and again or until you wish to make a new stamp.


As it's very inexpensive you could easily afford having a number of your own personal stamps, but also as it's so versatile, the value for money is unbelieveble :D
.JPG)
.JPG)
So I hope you give it a try, let me know if you have any questions and I will try my best to help you.
Please visit MB's Treasurista to buy your own magic stamp and more.
To see what my fellow design team members are up to, please visit MB's Treasurista blog from time to time - you wont leave uninspired, I promise!
No comments:
Post a Comment